运维部署基本知识.
linux基础
centos常用命令
yum常用命令
shell
yum check-update            # 列出所有可更新的软件清单
yum update                  # 更新所有软件
yum install <package_name>  # 仅安装指定的软件
yum update <package_name>   # 仅更新指定的软件
yum list                    # 列出所有可安裝的软件
yum remove <package_name>   # 删除软件包
yum search <keyword>        #  查找软件包

# 清除缓存命令
yum clean packages          # 清除缓存目录下的软件包
yum clean headers           # 清除缓存目录下的 headers
yum clean oldheaders        # 清除缓存目录下旧的 headers
yum 镜像问题 (阿里云仓库)
shell
# CentOS-Base.repo
#
# The mirror system uses the connecting IP address of the client and the
# update status of each mirror to pick mirrors that are updated to and
# geographically close to the client.  You should use this for CentOS updates
# unless you are manually picking other mirrors.
#
# If the mirrorlist= does not work for you, as a fall back you can try the
# remarked out baseurl= line instead.
#
#

[base]
name=CentOS-$releasever - Base - mirrors.aliyun.com
failovermethod=priority
baseurl=http://mirrors.aliyun.com/centos/$releasever/os/$basearch/
        http://mirrors.aliyuncs.com/centos/$releasever/os/$basearch/
        http://mirrors.cloud.aliyuncs.com/centos/$releasever/os/$basearch/
gpgcheck=1
gpgkey=http://mirrors.aliyun.com/centos/RPM-GPG-KEY-CentOS-7

#released updates
[updates]
name=CentOS-$releasever - Updates - mirrors.aliyun.com
failovermethod=priority
baseurl=http://mirrors.aliyun.com/centos/$releasever/updates/$basearch/
        http://mirrors.aliyuncs.com/centos/$releasever/updates/$basearch/
        http://mirrors.cloud.aliyuncs.com/centos/$releasever/updates/$basearch/
gpgcheck=1
gpgkey=http://mirrors.aliyun.com/centos/RPM-GPG-KEY-CentOS-7

#additional packages that may be useful
[extras]
name=CentOS-$releasever - Extras - mirrors.aliyun.com
failovermethod=priority
baseurl=http://mirrors.aliyun.com/centos/$releasever/extras/$basearch/
        http://mirrors.aliyuncs.com/centos/$releasever/extras/$basearch/
        http://mirrors.cloud.aliyuncs.com/centos/$releasever/extras/$basearch/
gpgcheck=1
gpgkey=http://mirrors.aliyun.com/centos/RPM-GPG-KEY-CentOS-7

#additional packages that extend functionality of existing packages
[centosplus]
name=CentOS-$releasever - Plus - mirrors.aliyun.com
failovermethod=priority
baseurl=http://mirrors.aliyun.com/centos/$releasever/centosplus/$basearch/
        http://mirrors.aliyuncs.com/centos/$releasever/centosplus/$basearch/
        http://mirrors.cloud.aliyuncs.com/centos/$releasever/centosplus/$basearch/
gpgcheck=1
enabled=0
gpgkey=http://mirrors.aliyun.com/centos/RPM-GPG-KEY-CentOS-7

#contrib - packages by Centos Users
[contrib]
name=CentOS-$releasever - Contrib - mirrors.aliyun.com
failovermethod=priority
baseurl=http://mirrors.aliyun.com/centos/$releasever/contrib/$basearch/
        http://mirrors.aliyuncs.com/centos/$releasever/contrib/$basearch/
        http://mirrors.cloud.aliyuncs.com/centos/$releasever/contrib/$basearch/
gpgcheck=1
enabled=0
gpgkey=http://mirrors.aliyun.com/centos/RPM-GPG-KEY-CentOS-7
yum 配置镜像 (阿里云仓库)
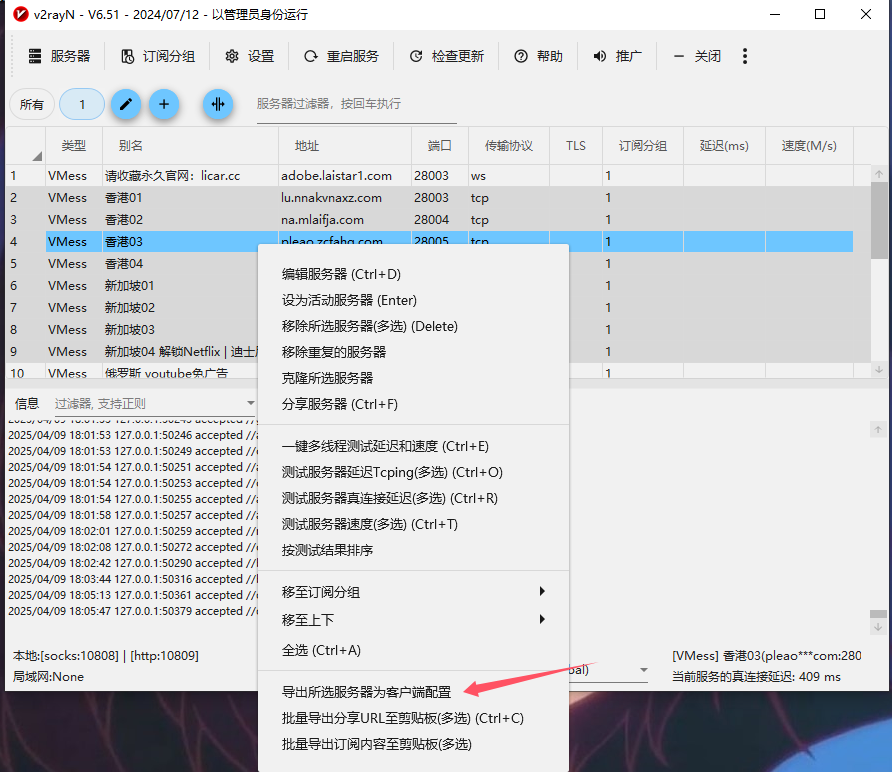
Centos配置V2ray代理
- 下载v2ray-linux-64.zip https://github.com/v2fly/v2ray-core/tags
- 配置
shell
cd v2ray-linux-64

chmod 755 v2ray
chmod 755 v2ctl
chmod 755 systemd/system/v2ray.service
chmod 755 systemd/system/v2ray@.service

cp v2ray /usr/local/bin/
cp v2ctl /usr/local/bin/

cp systemd/system/v2ray.service /etc/systemd/system/
cp systemd/system/v2ray@.service /etc/systemd/system/

mkdir /usr/local/share/v2ray/
cp geoip.dat /usr/local/share/v2ray/
cp geosite.dat /usr/local/share/v2ray/

mkdir /var/log/v2ray/ #这一步可选
cp access.log /var/log/v2ray/
cp error.log /var/log/v2ray/- 获取config.json配置文件
shell
# 配置文件上传到服务器
mkdir /usr/local/etc/v2ray/
cp config.json /usr/local/etc/v2ray/config.json

# 启动V2ray
sudo systemctl start v2ray

# 检查V2ray状态
sudo systemctl status v2ray

# 设置V2ray开机自启动
sudo systemctl enable v2ray

#配置curl、wget等命令使用代理

#1. 修改文件“/etc/profile”

# 设置http代理
export http_proxy=socks5://127.0.0.1:10808
# 设置https代理
export https_proxy=socks5://127.0.0.1:10808
# 设置ftp代理
export ftp_proxy=socks5://127.0.0.1:10808
# 17.16.x.x为我们自己的云服务器的内网IP 配置为no_proxy代表内网传输不走代理
export no_proxy="172.16.x.x"

source /etc/profile

#2. 在当前终端临时生效
# 使代理生效
export http_proxy=socks5://127.0.0.1:10808
export https_proxy=socks5://127.0.0.1:10808
export ftp_proxy=socks5://127.0.0.1:10808
export no_proxy="172.16.x.x"

#使代理失效
unset http_proxy
unset https_proxy
unset ftp_proxy
unset no_proxy

#3. 针对单用户生效
vim ~/.bashrc
# set proxy
function setproxy() {
    export http_proxy=socks5://127.0.0.1:10808
    export https_proxy=socks5://127.0.0.1:10808
    export ftp_proxy=socks5://127.0.0.1:10808
    export no_proxy="172.16.x.x"
}
# unset proxy
function unsetproxy() {
    unset http_proxy https_proxy ftp_proxy no_proxy
}
source ~/.bashrc
#终端执行 setproxy 使代理生效
setproxy
#终端执行 unsetproxy 使代理生效
unsetproxy
Centos7x防火墙常用命令
shell
# 查看防火墙状态
systemctl status firewalld

# 开启防火墙
sudo systemctl start firewalld

# 停止防火墙
sudo systemctl stop firewalld

# 重启防火墙
sudo systemctl restart firewalld

# 设置防火墙开机自启
sudo systemctl enable firewalld

# 重新加载防火墙规则
sudo firewall-cmd --reload

# 查看防火墙开机自启状态
sudo systemctl is-enabled firewalld

# 永久开放 3306 端口
sudo firewall-cmd --permanent --add-port=3306/tcp

# 查看当前防火墙开放的所有端口和服务(临时 + 永久规则)
sudo firewall-cmd --list-all

# 仅查看永久规则(重启后仍生效的规则)
sudo firewall-cmd --permanent --list-all